Sewn Tubular Bind Off
The Sewn Tubular Bind-off is a perfect match for Judy’s Magic Tubular Cast-on, and gives an equally stretchy and magical finish to your piece.
You’ll need your project needles (circular or DPN), another set of circular needles or DPN’s in the same size, and a darning needle.
Written Instructions:
Setting up for the Bind-off
- For the last row or round of your project, work in 1×1 ribbing.
Do not turn.- Hold the knitting in your left hand, and slide it to the end of your needle (the working yarn will be on the left side of the project.)
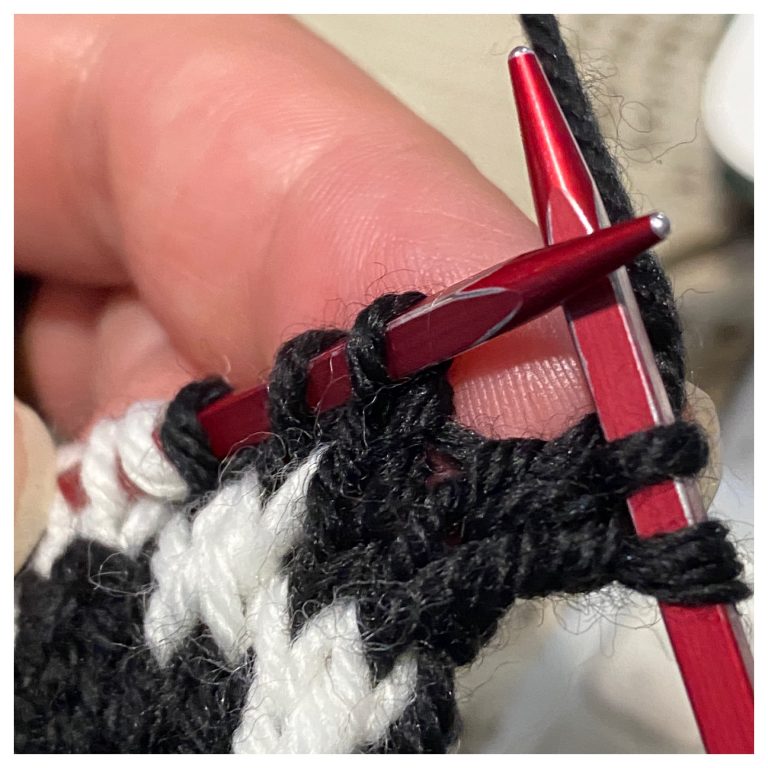
- Using your spare needles, begin slipping stitches purlwise – knit stitches to one needle, and purl stitches to the other.
- Once all stitches are on the needle, turn your work.
- Measure approximately 3 times the length of your bind-off edge, and cut your working yarn.

Graft the stitches – don’t worry, it’s not as scary as you may have heard! 😉
Set-up for grafting:
- Hold the needles in your left hand, with the working yarn on the right side of the work.
- Insert the darning needle purl-wise into the first knit stitch, and pull the yarn through, leaving the stitch on the needle.
- Insert the needle knit-wise into the first purl stitch (on the back needle), and pull the yarn through, leaving the stitch on the needle.
Grafting:
- *Insert the needle knit-wise into the first knit stitch, slide the stitch off the needle, and pull the yarn through.
- Insert the darning needle purl-wise into the next knit stitch, and pull the yarn through, leaving the stitch on the needle.
- Insert the needle purl-wise into the first purl stitch (on the back needle), slide the stitch off the needle, and pull the yarn through.
- Insert the needle knit-wise into the next purl stitch (on the back needle), and pull the yarn through, leaving the stitch on the needle.
Repeat from * until the last two stitches.(Even after all these years, I still mutter: “Knit off, purl on. Purl off, knit on.” It gets a little annoying when binding off 200 stitches for a cowl, but it keeps the rhythm going!)
- *Insert the needle knit-wise into the last knit stitch, slide the stitch off the needle, and pull the yarn through.
- Insert the needle purl-wise into the last purl stitch (on the back needle), slide the stitch off the needle, and pull the yarn through.

Adjust the tension:
- Insert the tip of your needle into the first grafted stitch, and tug gently to adjust the tension to match the existing stitches.
- Work your way along the row, gently tugging the yarn, until you are satisfied with how the stitches look.
Weave in ends.