Kitchener Stitch Made Easy
Kitchener Stitch is one of the most dreaded, most complained about, most feared techniques in knitting…at least from what I’ve gathered in my time in the knitting world.
It’s true, it requires a darning needle and yarn, but it’s truly a super-simple technique that will open up a wide range of patterns for you.
Getting Started:
You’ll need your piece of knitting that you’re grafting/kitchner stitching, a darning needle, and the tail of your working yarn cut to about 4 times the width of the finished piece.
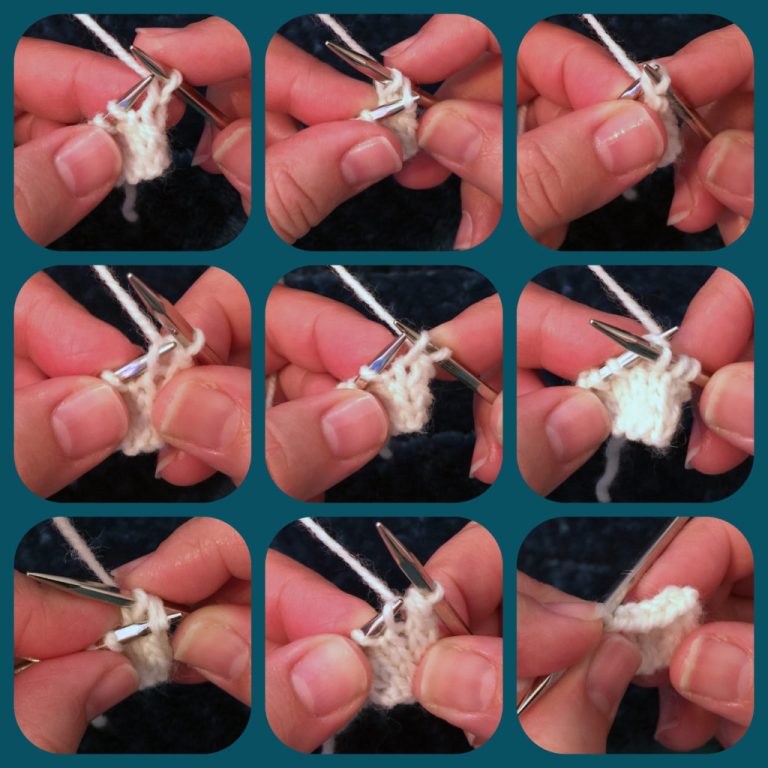
Then, you’ll work two setup stitches.
On the needle closest to you, insert the darning needle from right to left, like you were going to purl the stitch.
Pull the yarn through, leaving the stitch on the needle.On the back needle, insert your darning needle from left to right, like you were going to knit the stitch.
Pull the yarn through, leaving the stitch on the needle.
Kitchener Mantra:
Knit off, Purl on.
Purl off, Knit on.
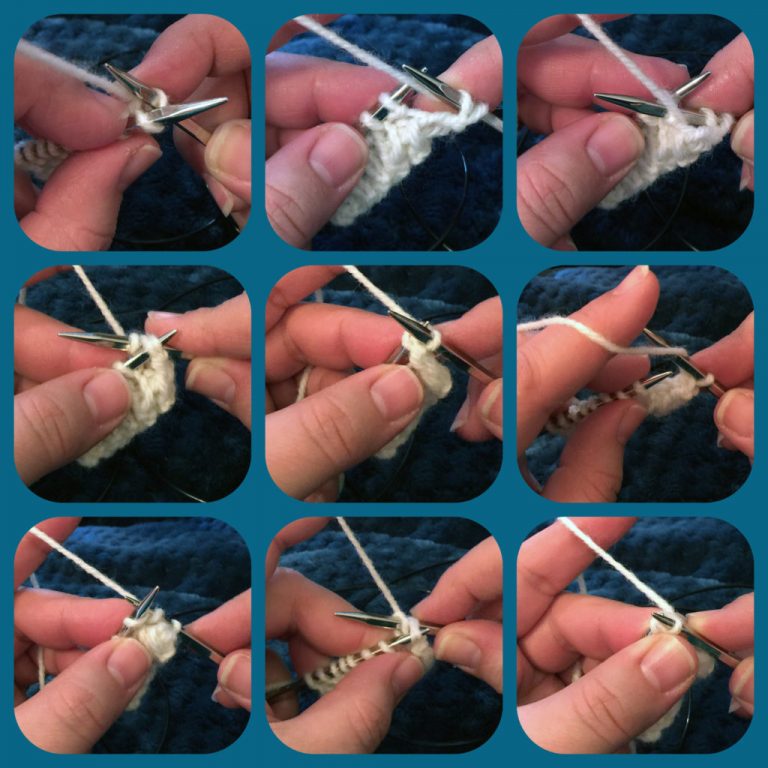
Working the Kitchener Stitch:
- On the first needle, insert your darning needle from left to right, like you were going to knit the stitch.
Slide the stitch off the needle (Knit off) and pull the yarn through. - On the first needle, insert the darning needle from right to left, like you were going to purl the stitch.
Pull the yarn through, leaving the stitch on the needle (Purl on). - On the back needle, insert the darning needle from right to left, like you were going to purl the stitch.
Slide the stitch off the needle (Purl off) and pull the yarn through. - On the back needle, insert your darning needle from left to right, like you were going to knit the stitch.
Pull the yarn through, leaving the stitch on the needle (Knit on).
Finishing the Kitchener Stitch:
When you reach the last two stitches, you work a Knit off and Purl off.
- On the first needle, insert your darning needle from left to right, like you were going to knit the stitch.
Slide the stitch off the needle (Knit off) and pull the yarn through. - On the back needle, insert the darning needle from right to left, like you were going to purl the stitch.
Slide the stitch off the needle (Purl off) and pull the yarn through.
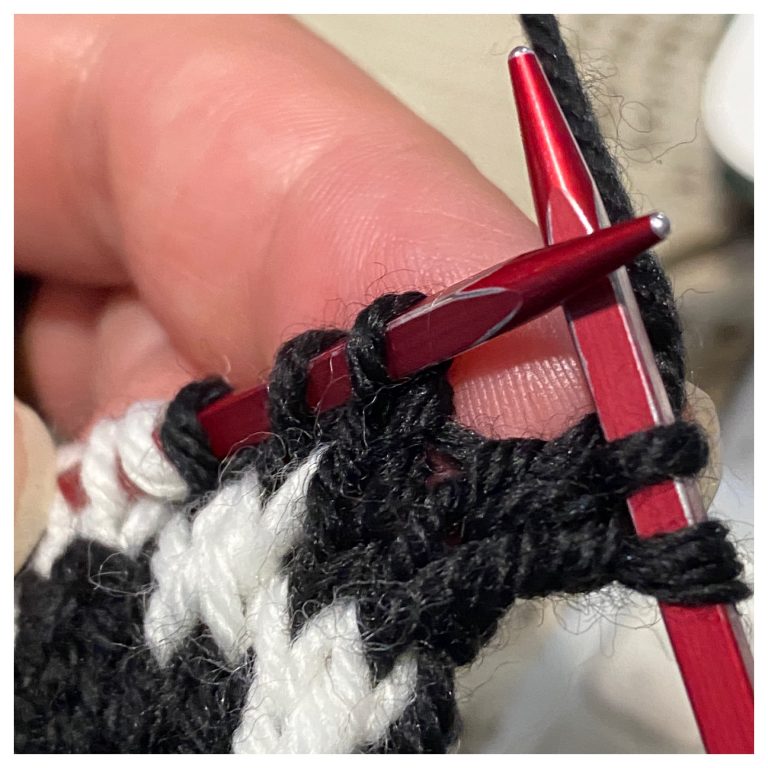
Helpful Hints
As you work the stitches, you may find it helpful to occasionally adjust your tension. I don’t pull my stitches tight as I work them, preferring to do a final adjustment once I’ve worked all across the row, so I can match the tension of the pre-existing stitches.