In which I learn to steek…
Steeking, I’ll be honest, has made me nervous since I first learned of it. I mean, I understand the concept – cast on some extra stitches, reinforce around the middle of those, and then cut between the reinforcements to make an opening in the knit object.
Somewhere in the back of my mind, in spite of the nerves, it’s always been a “one day I should probably try that” technique. Not being a huge fan of Norwegian-style sweaters, I’ve not had a reason to try it until recently.
A few weeks ago, I got it into my head that I need to design a vest for The Boy for Christmas this year. Not just any vest, either, but a very elaborate, striped, steampunk vest. It sprung full-blown into my mind, I stalked sales to pick up just the right yarn, and I cast on.
And that’s when I realized that I really should learn to steek…because the thought of knitting flat stripes, meaning purling flat stripes, lost its appeal about 7 rows in.
So, since I wanted to make a vest, I cast on a miniature vest. Mind you, this is not at all the design I have planned for the gift I’m making, but since the technique originated with colourwork, I figured why not?
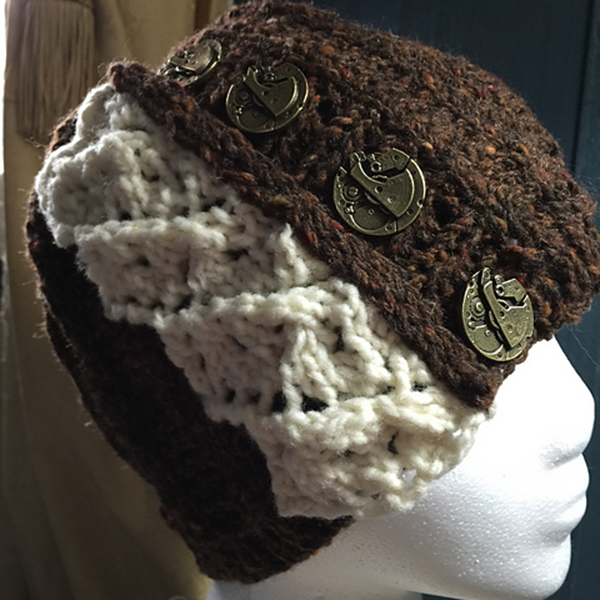
My first attempt at steeking was…messy. Interesting, but messy. And bulky. And I did it wrong so the steeks were sliding out of the reinforcment, and it was hard working in miniature, but I did it:
 Of course, I knew right away that while this would work for an ornament, there was no way I’d be happy putting seams like that on a gift.
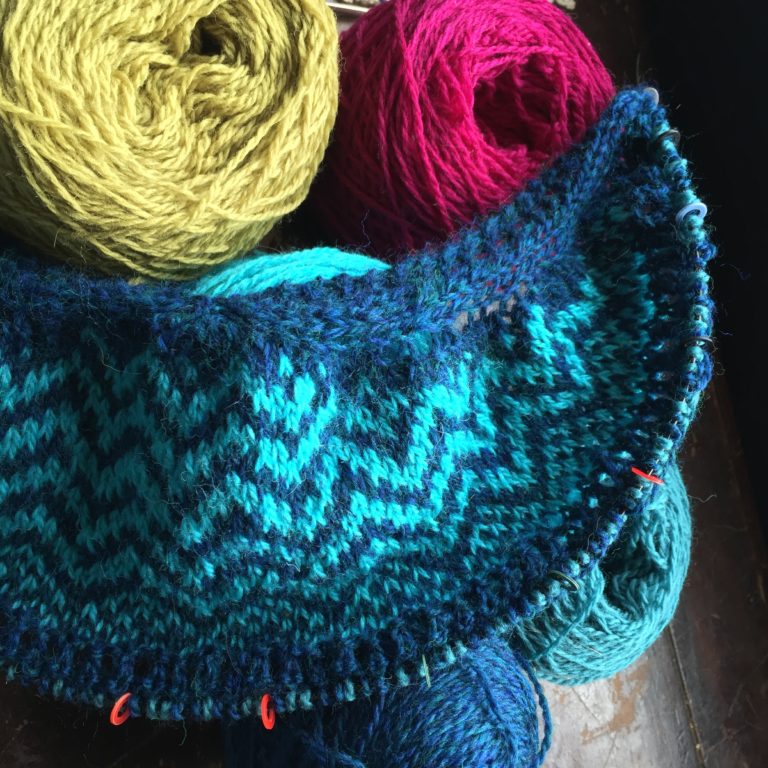
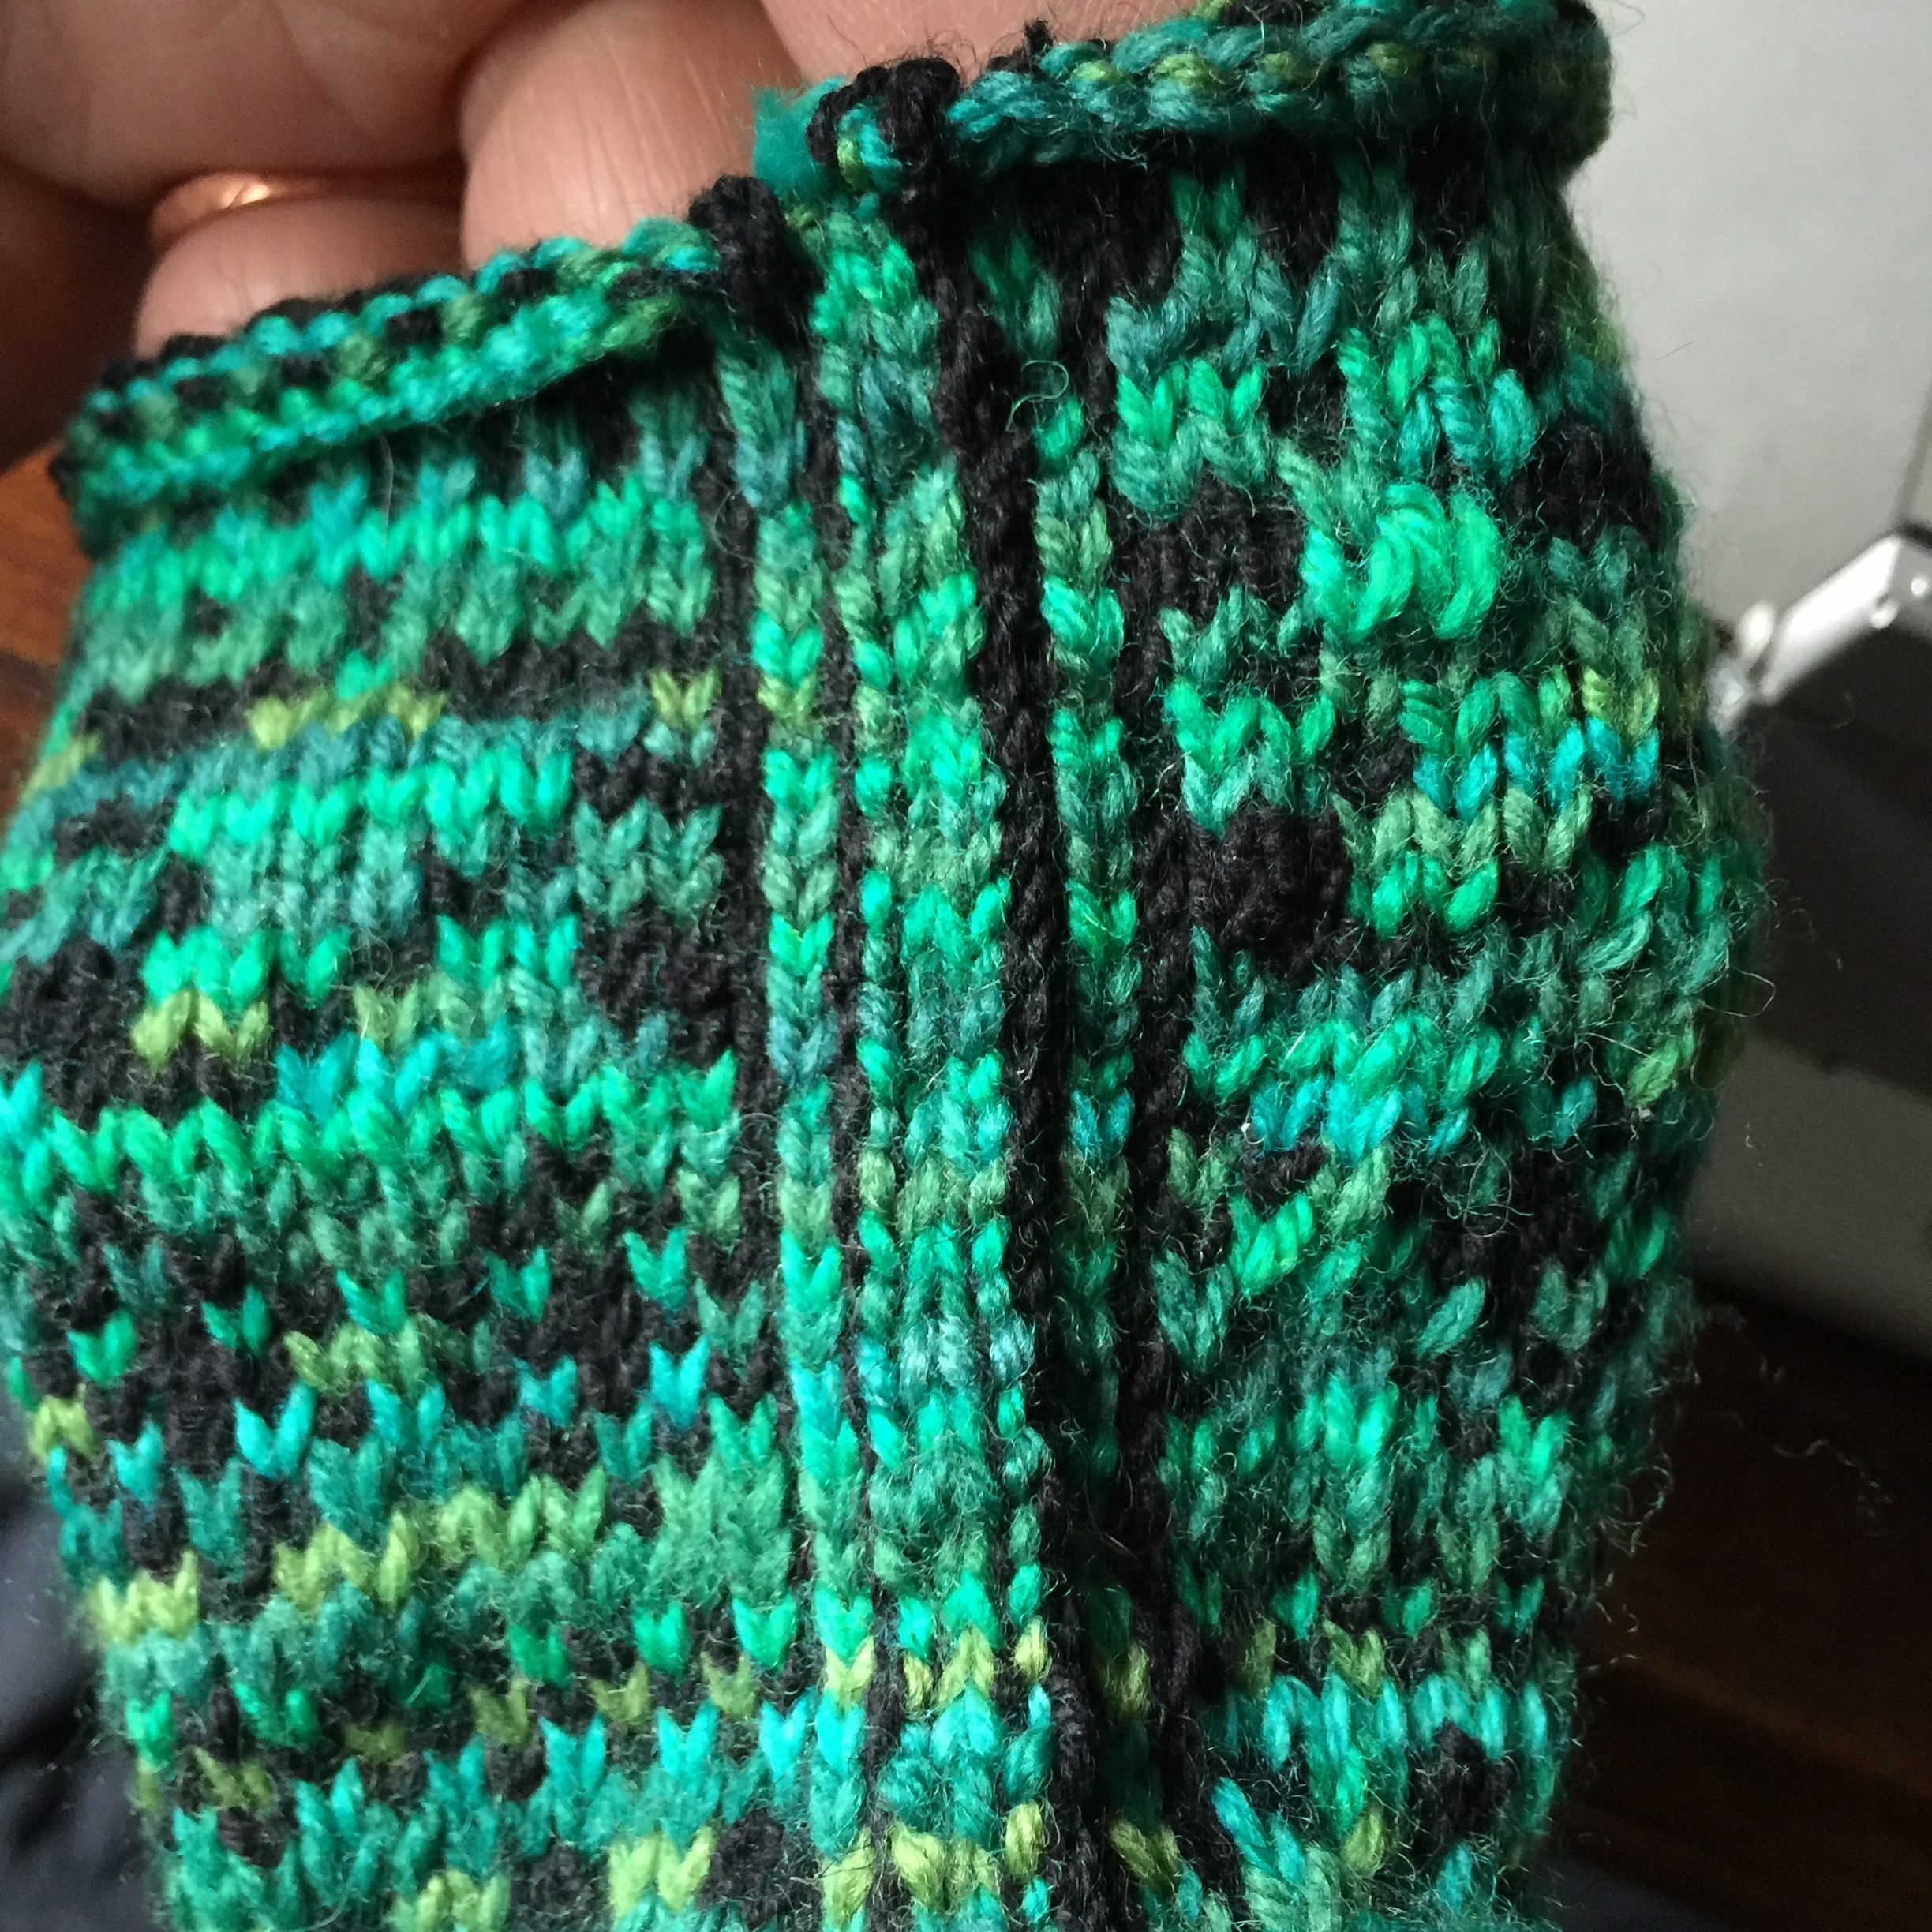
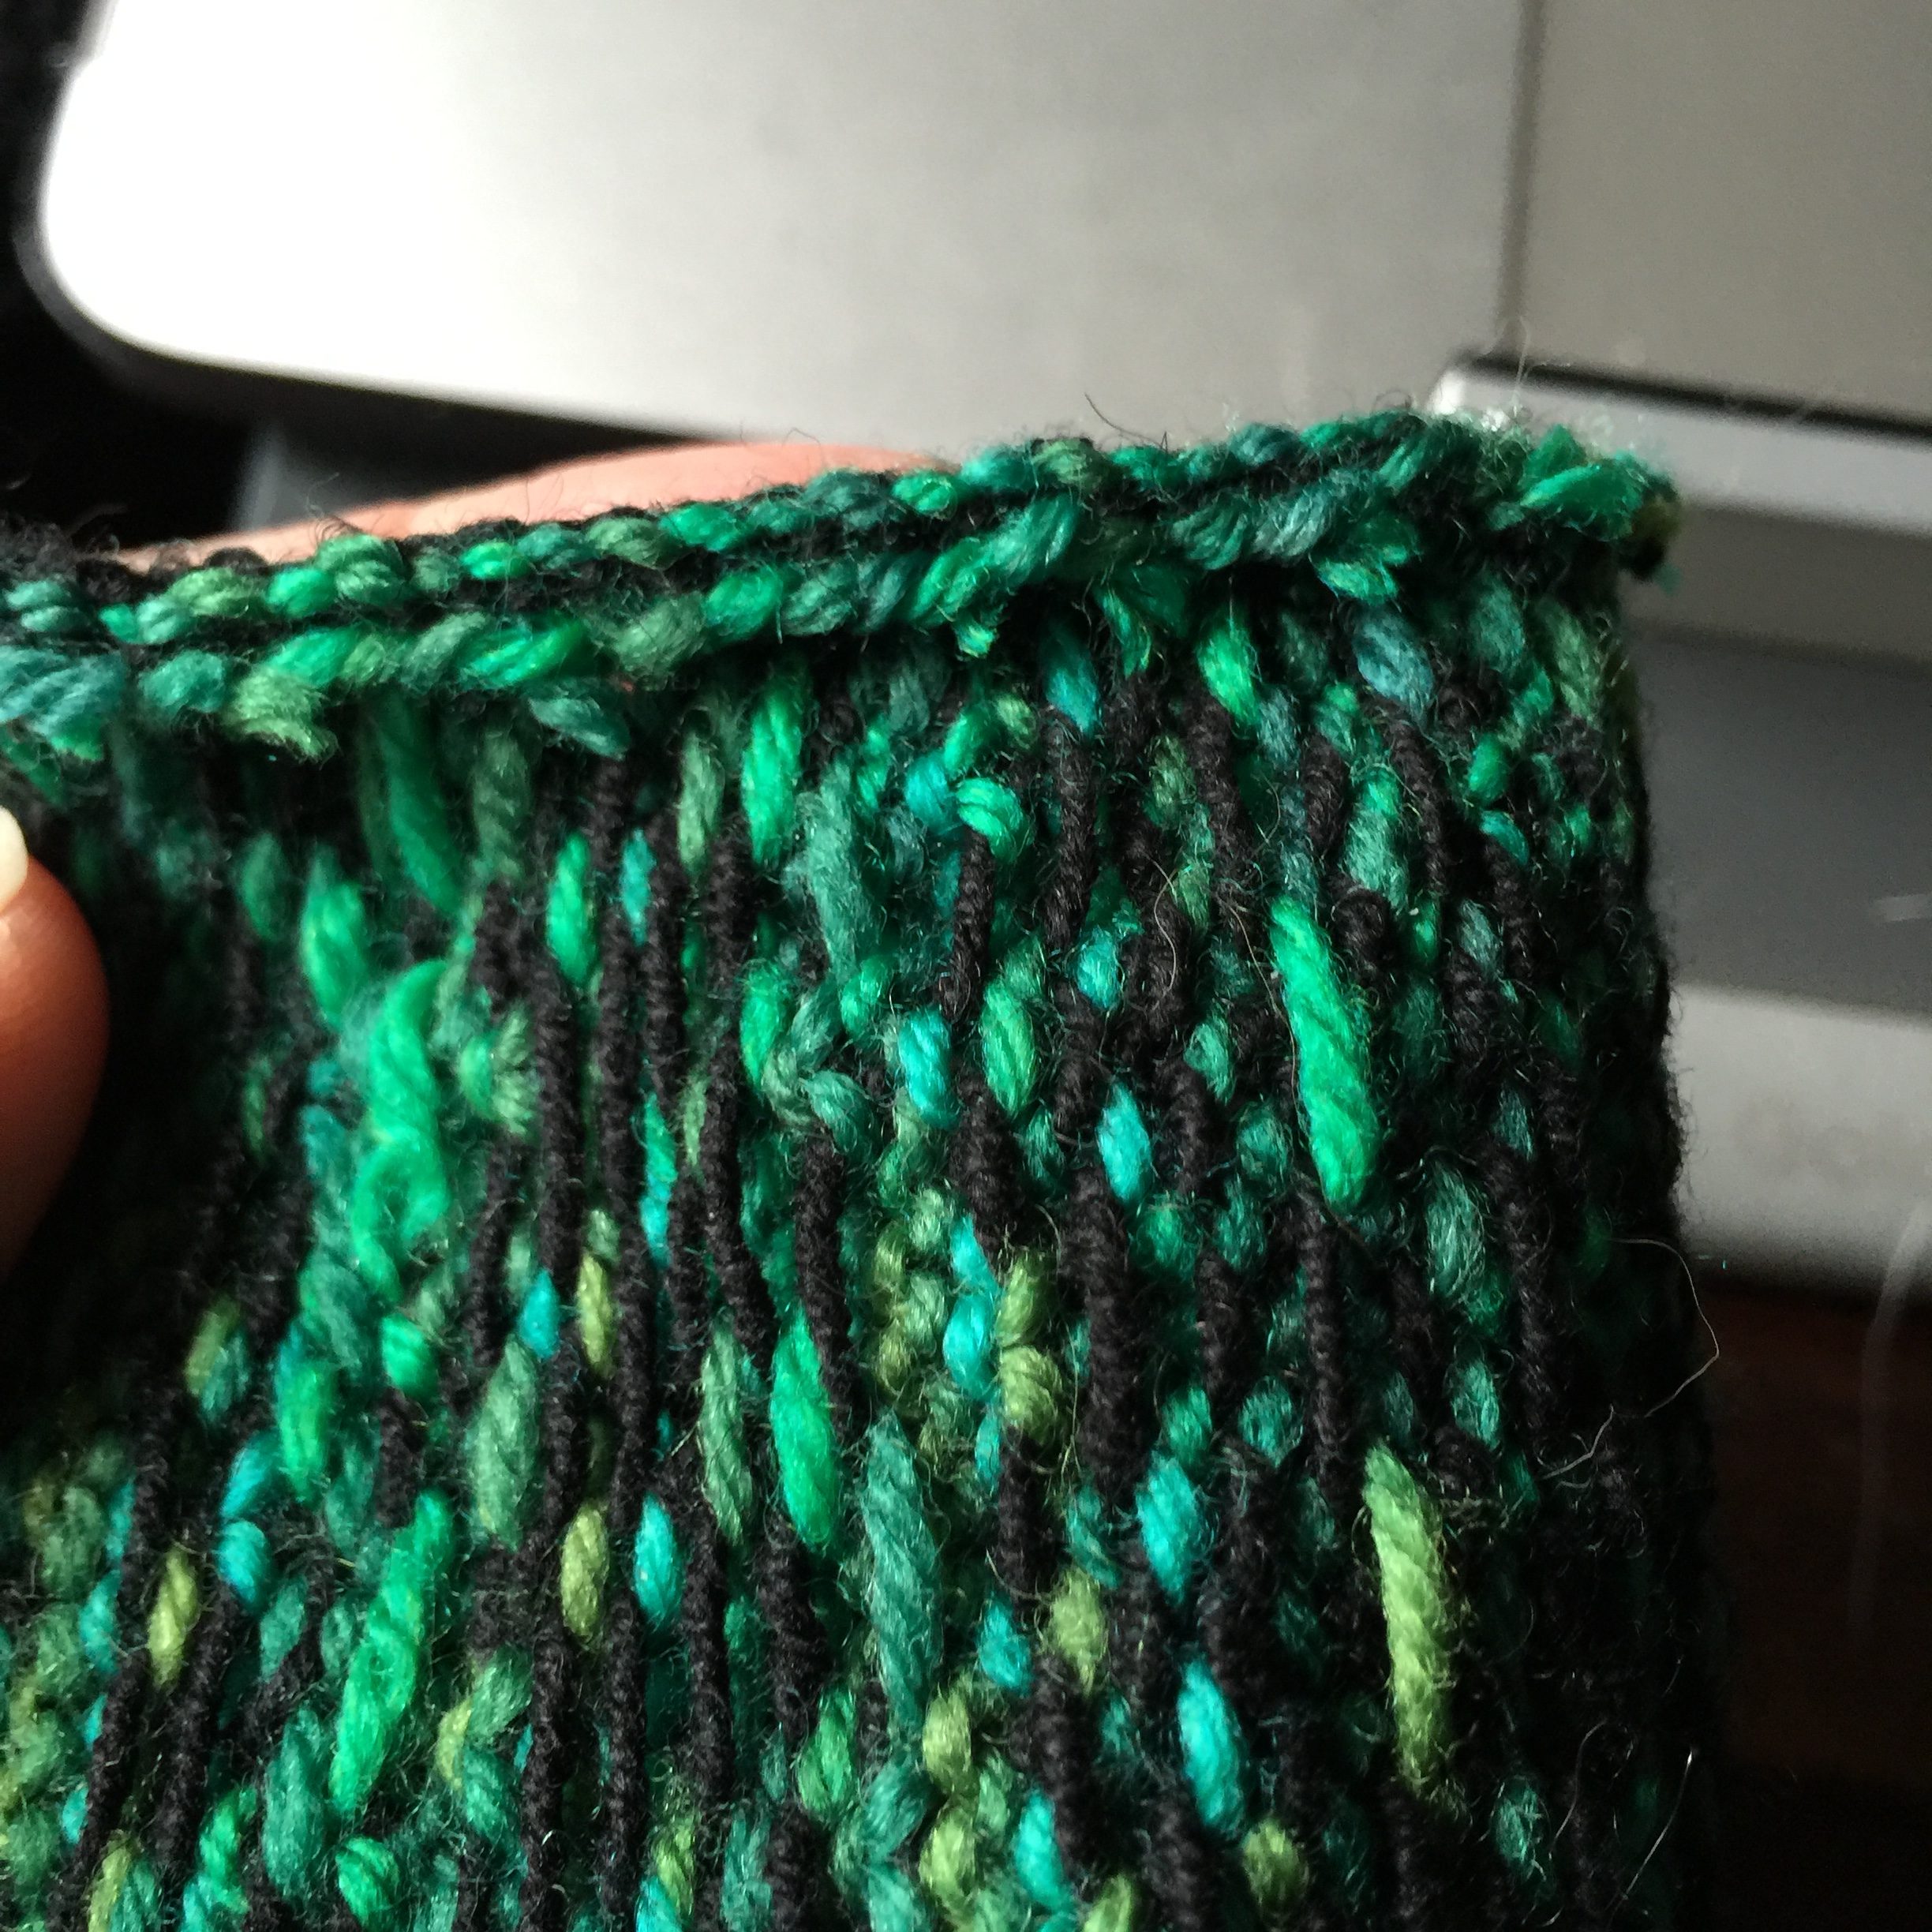
So I cast on again – this time, just in the round, no vest intended, so I could really see what I was doing. I made the steek stitches with vertical stripes, so that I could easily see where to reinforce and cut.
Then I crocheted around the steek, being sure to pick up half of a black stitch and half of a green stitch.
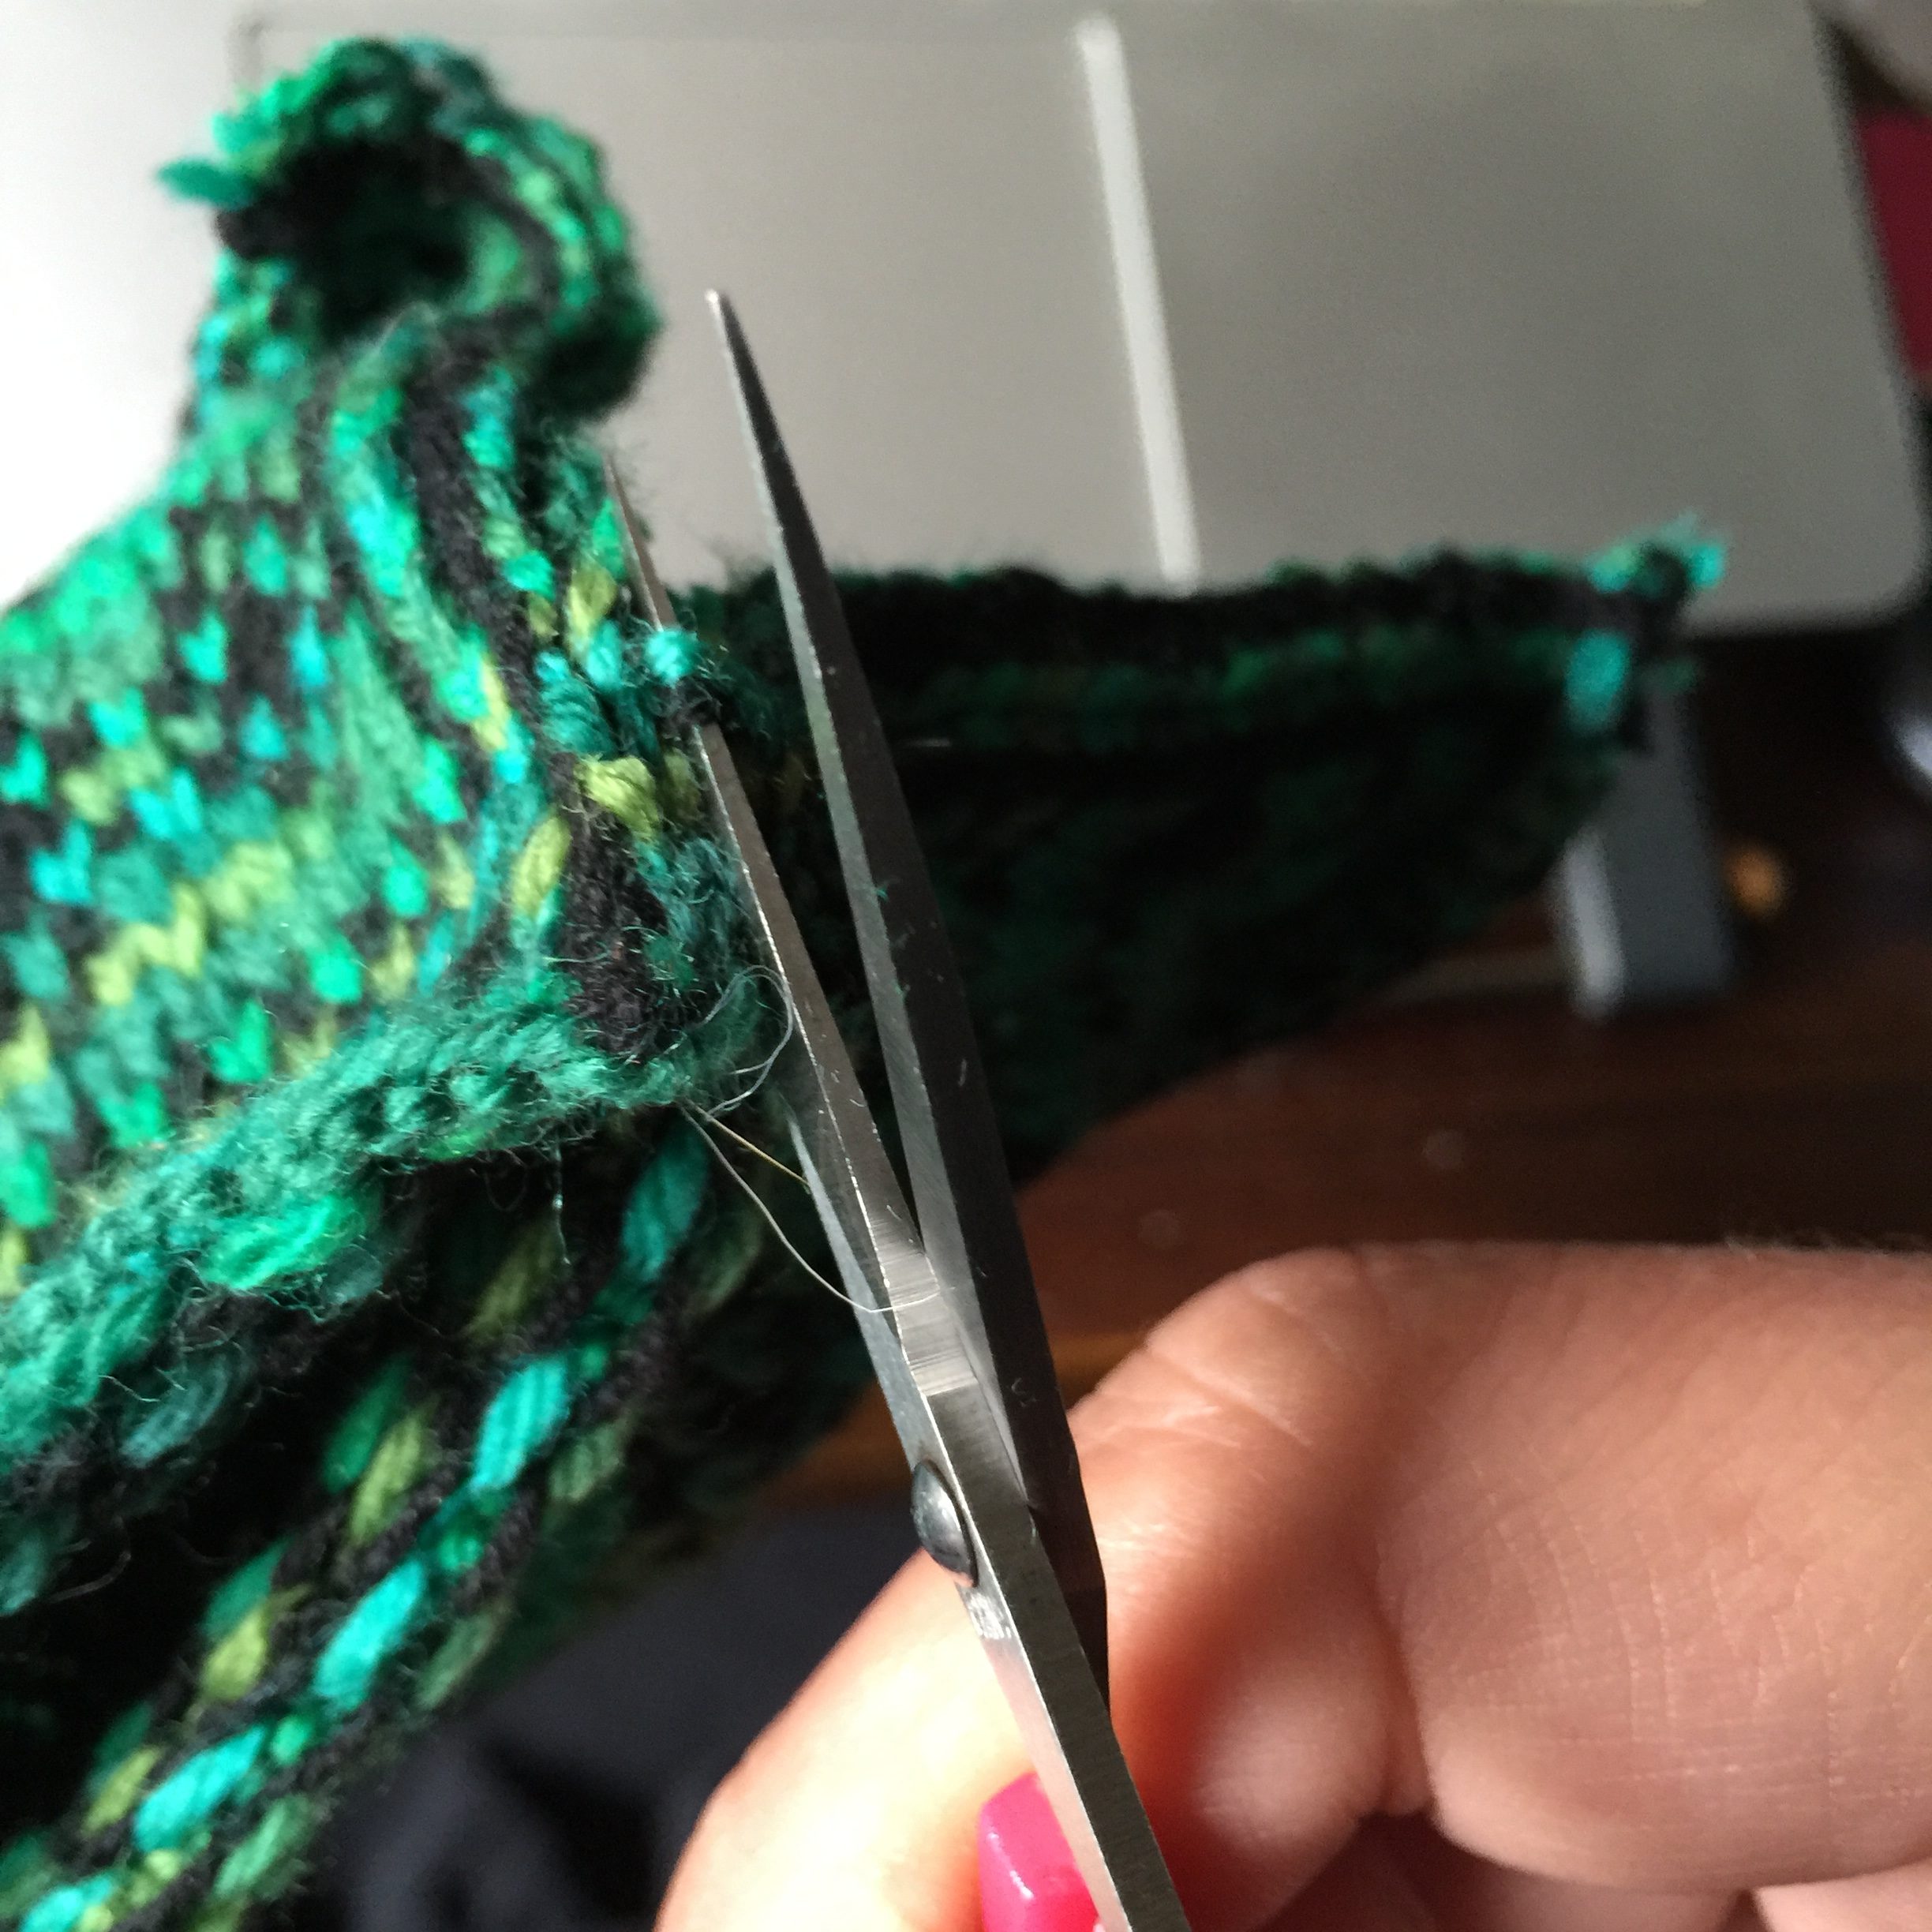
Once that was done…I took a really deep breath and started snipping.

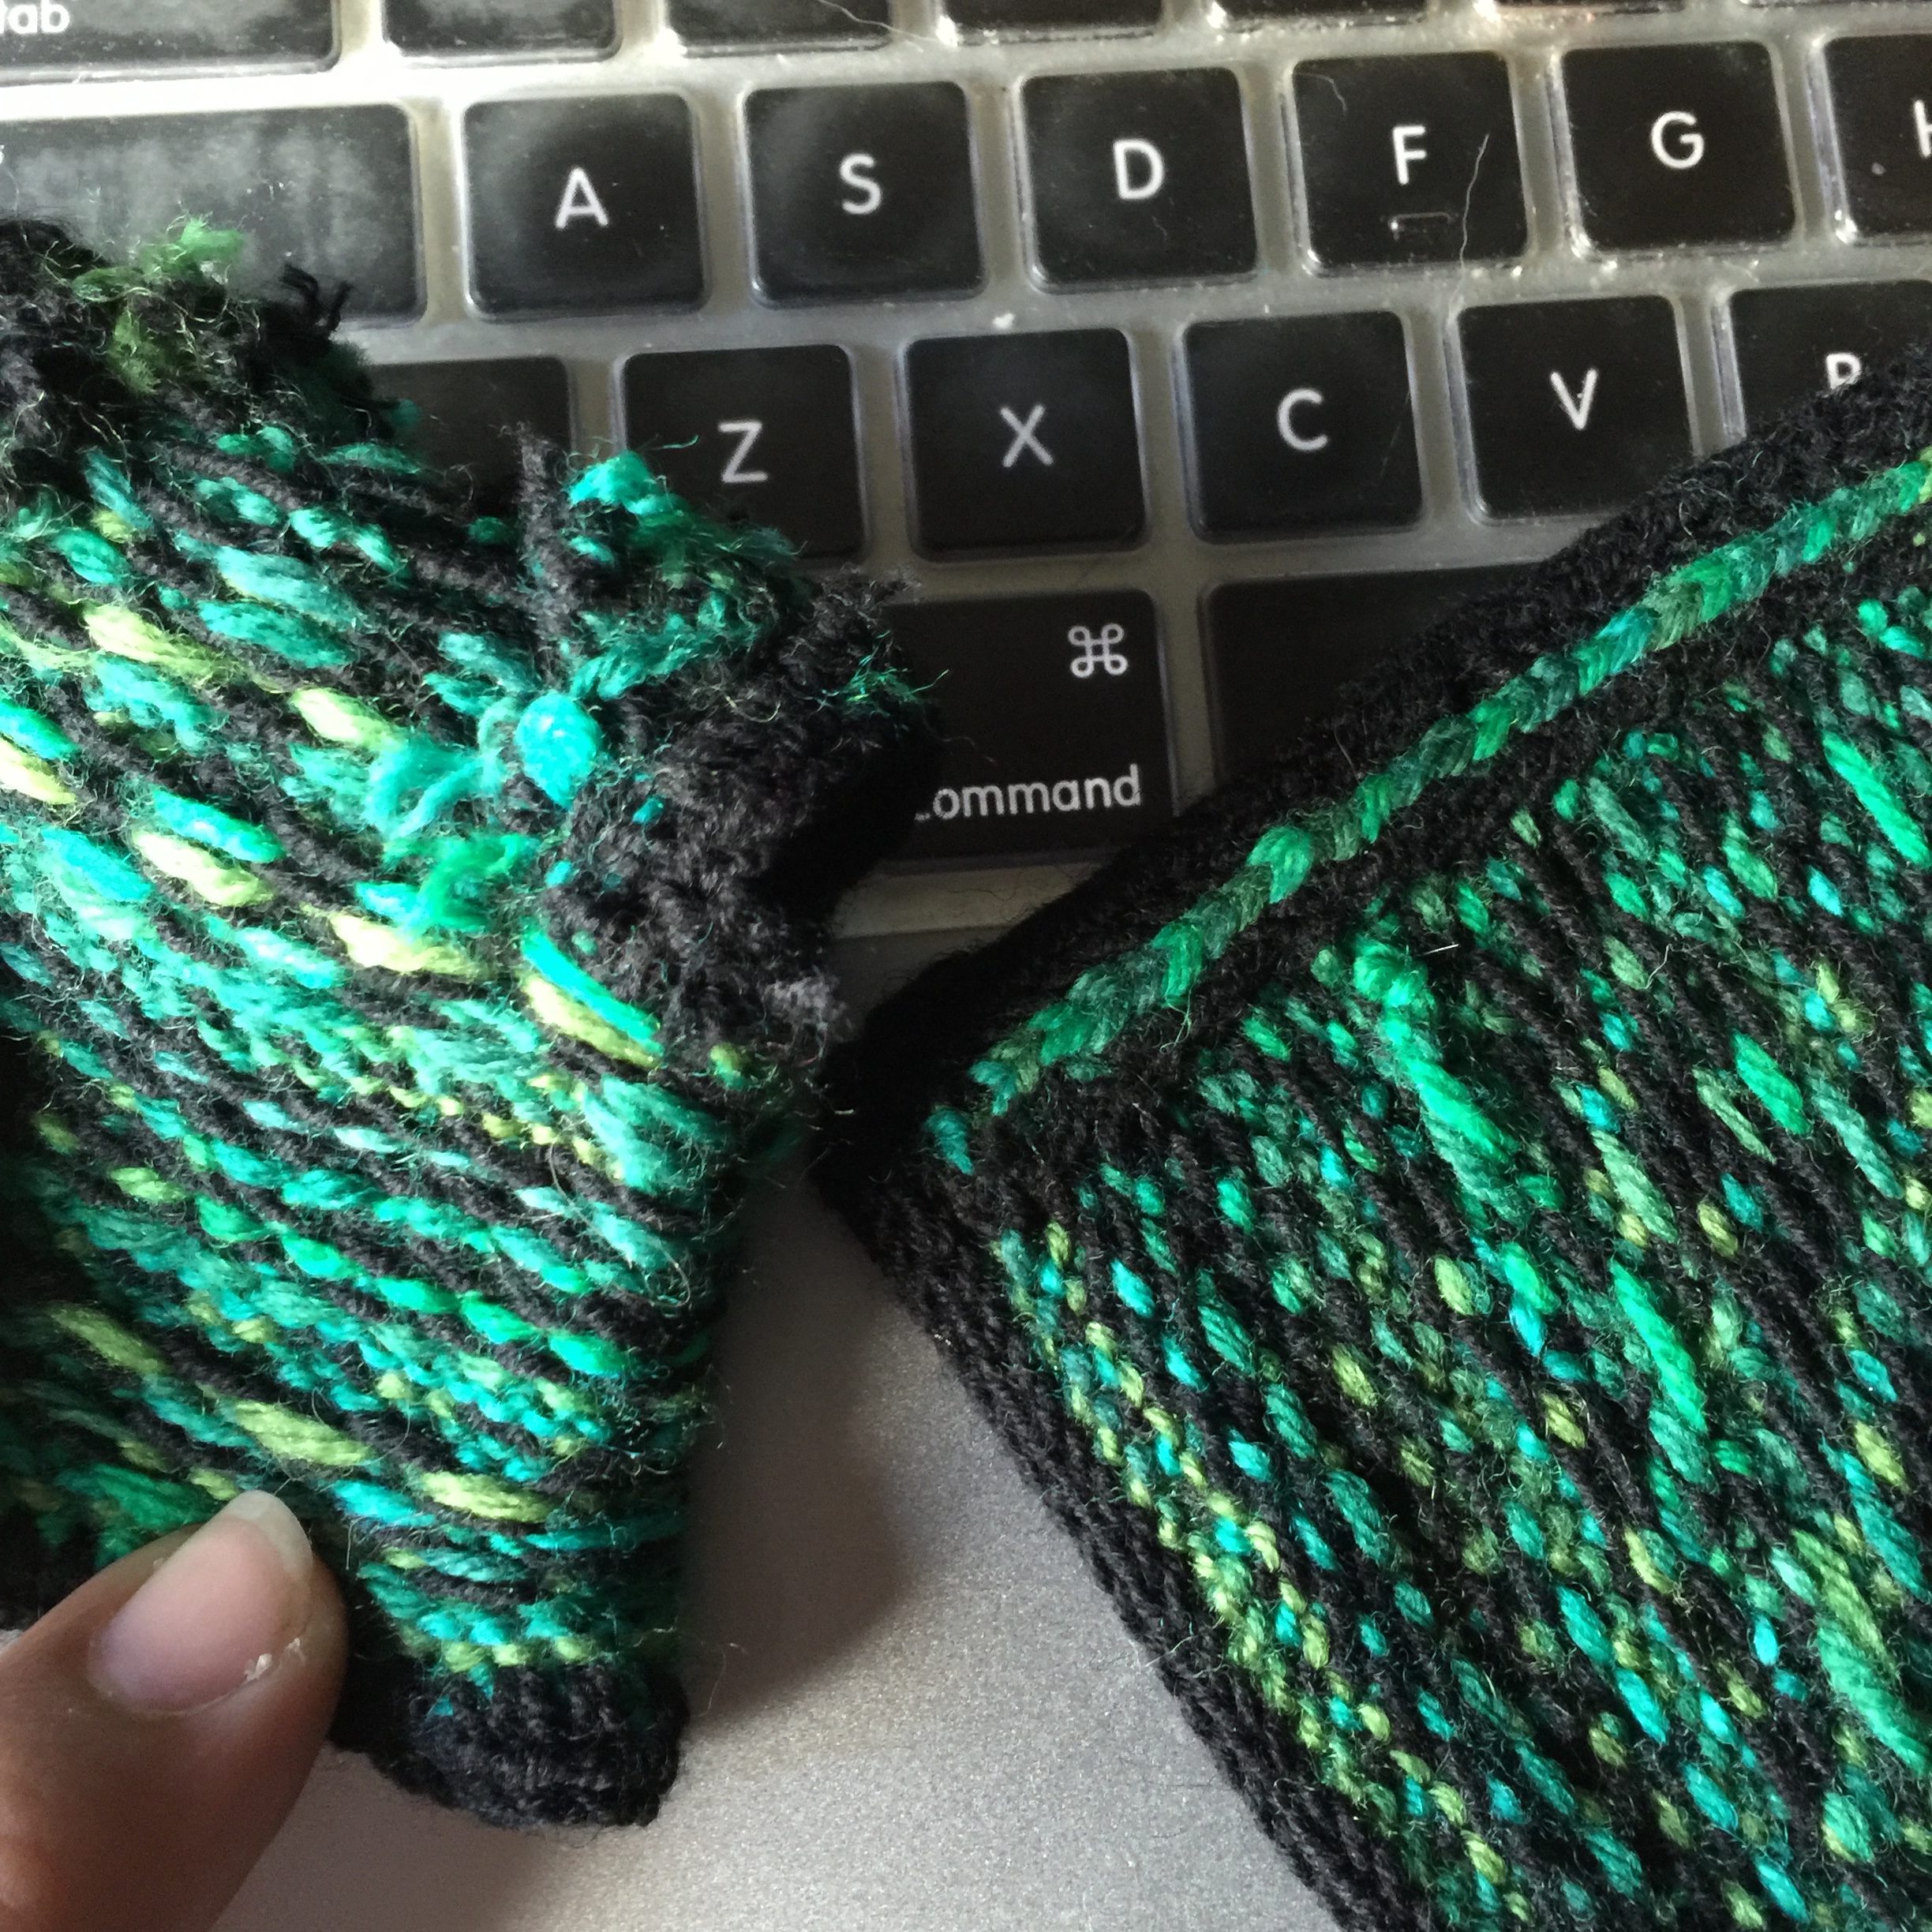
After everything was cut, I gave it a few tugs to see if everything was in place and to make sure it would hold – I wanted to know for sure before I spent any more time on it. Then I began whip-stitching the facing in place. Persephone assisted me in inspecting along the way, to make sure it met her exacting standard for “things to nom on.”


Once the steeks were sewed flat, I applied i-cord around the edge. I kind of forgot to take pictures of that part, oops! Then, I wet the piece, rolled it to squeeze out excess water, and blocked it.


I’m much happier with this second attempt…and now I feel up to tackling the Christmas vest 😀